Test documentation: Lid driven cavity using dye injection
This repository contains the computational framework and tools for multiphase fluid dynamics simulations based on the Basilisk C framework. The codebase specializes in the simulation and analysis of lid driven cavity flow with dye injection.
Documentation
The full documentation for this project is available at comphy-lab.org/documentationWeb/. This website contains detailed explanations of the code, examples, and usage instructions.
Overview
The codebase implements a classical lid driven cavity flow problem with dye injection using the Basilisk CFD library with custom implementations for specific dye injection including.
Repository Structure
- basilisk/ - Local Basilisk checkout (ignored; do not commit)
- simulationCases/ -
Test cases for simulation
- LidDrivenCavity-Newtonian-dyeInjection.c - Lid-driven cavity with dye injection
- src-local/
- Custom header files extending Basilisk functionality
- dye-injection.h - Dye injection for flow visualization
- postProcess/ -
Project-specific post-processing tools
- LidDrivenCavity-Newtonian-dyeInjection.ipynb - Jupyter notebook for analysis
- LidDrivenCavity-Newtonian-dyeInjection.py - Python script for post-processing
- Visulization3D.ipynb - Jupyter notebook for 3D visualization
- getData-LidDriven.c - Data extraction utility
- .github/ -
Documentation assets, scripts, workflows
- docs/ - Generated documentation site output
- runSweepHamilton.sbatch - HPC batch script for Durham Hamilton cluster
- runSweepSnellius.sbatch - HPC batch script for Snellius cluster
src-local/ Directory
The src-local/
directory contains custom header files that extend the
base Basilisk functionality:
- dye-injection.h:
Implements a circular tracer (dye) injection for flow
visualization with:
- Configurable injection time and position
- Circular dye region with adjustable radius
- Integration with Basilisk’s tracer module for advection
postProcess/ Directory
The postProcess/
directory provides tools for analyzing and visualizing
simulation results:
LidDrivenCavity-Newtonian-dyeInjection.ipynb: Jupyter notebook that:
- Provides interactive analysis of simulation results
- Visualizes dye transport in the cavity
- Contains both code and documentation in a single document
- Allows for reproducible analysis workflow
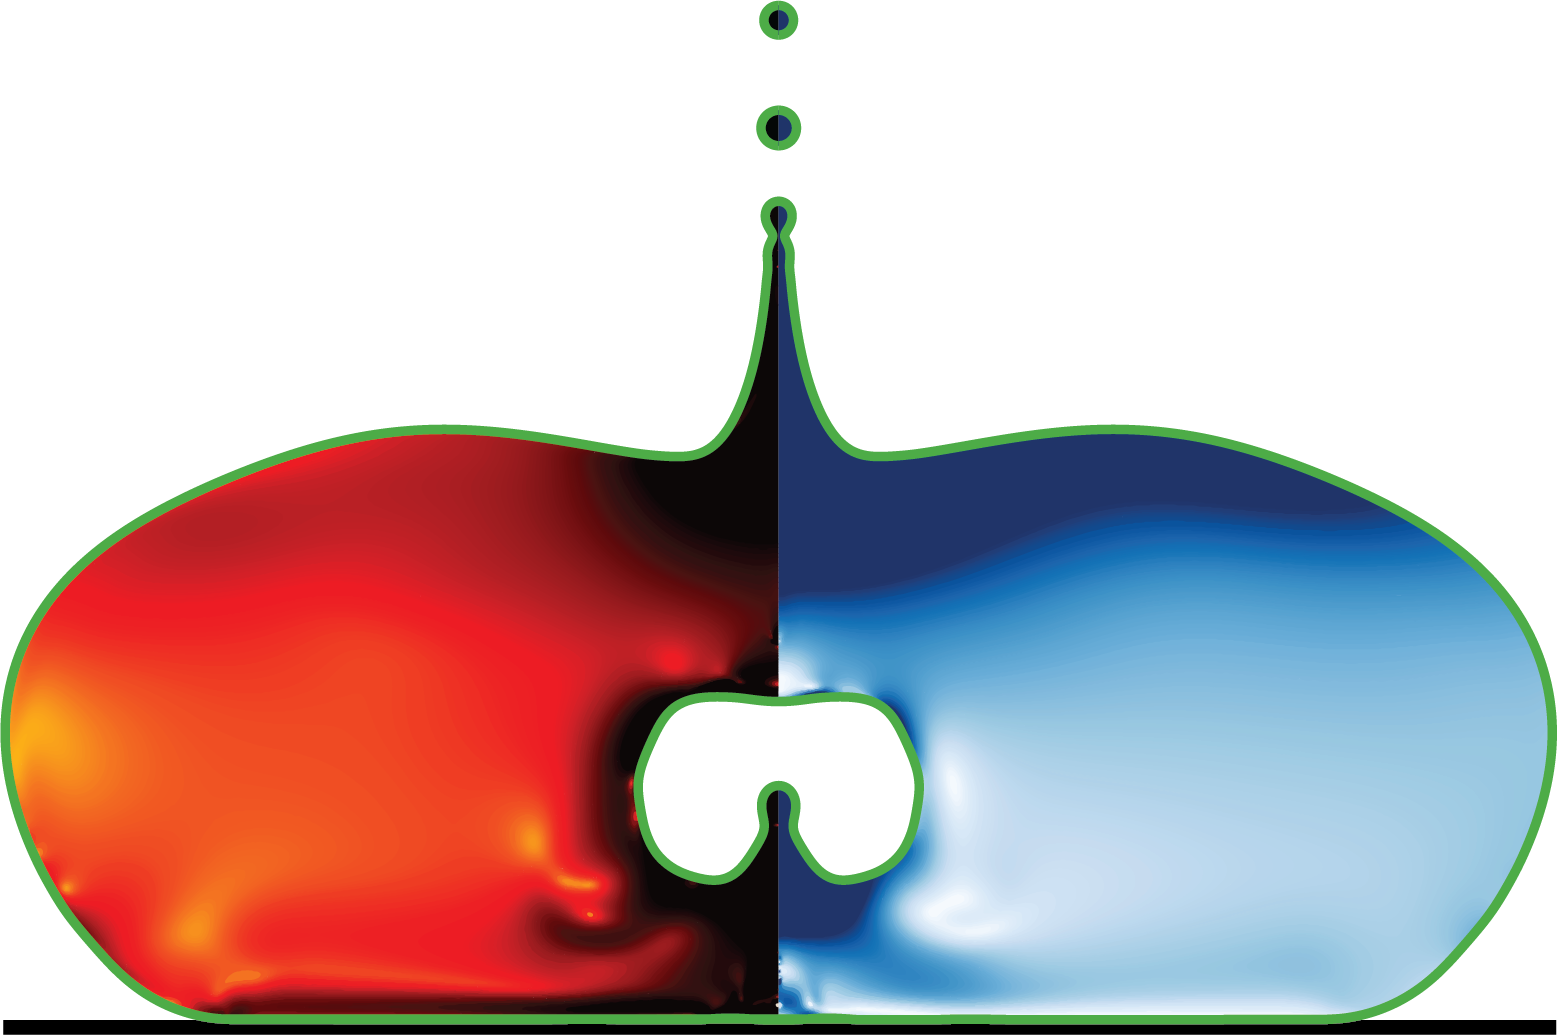
LidDrivenCavity-Newtonian-dyeInjection.py: Python script for generating visualizations that:
- Processes simulation timesteps in parallel
- Creates two-panel plots showing dye concentration and velocity magnitude
- Adds streamlines to visualize flow patterns
- Uses ‘getData-LidDriven’ utility to extract field data
Visulization3D.ipynb: Jupyter notebook for 3D visualization
getData-LidDriven.c: C utility that extracts and processes numerical data from simulation output files
simulationCases/ Directory
The simulationCases/
directory contains simulation configurations:
- LidDrivenCavity-Newtonian-dyeInjection.c:
Main simulation case that implements:
- Classical lid-driven cavity flow for a Newtonian fluid
- Configurable Reynolds number (default: Re = 1)
- Dye injection in the upper center of the cavity at t=0.05
- Adaptive grid with level 8 refinement
- Proper boundary conditions for the moving lid and no-slip walls
- Regular snapshot generation for visualization
HPC Batch Scripts
SLURM batch scripts for running parameter sweeps on HPC clusters:
- runSweepHamilton.sbatch: Configured for Durham University’s Hamilton cluster (128 cores, OpenMPI)
- runSweepSnellius.sbatch: Configured for Snellius cluster (48 cores, OpenMPI 5.0.3)
These scripts run Stage 2 (MPI simulation) of parameter sweeps. Stage 1 (restart file generation) must be run locally before submitting to the cluster.
Getting Started
Prerequisites
- Basilisk C installed (Installation instructions)
- C compiler (gcc recommended)
- Make build system
- Python 3 with pip for documentation generation (see
.github/scripts/requirements.txt) - Pandoc for HTML generation used by
.github/scripts/generate_docs.py - Scientific visualization tools (optional: ParaView, Gnuplot, etc.)
Installation
Clone this repository:
git clone https://github.com/username/comphy-lab.git
cd comphy-lab
Make sure Basilisk is properly installed and the BASILISK environment variable is set.
Install Python dependencies for documentation generation:
python3 -m venv .venv
source .venv/bin/activate
pip install -r .github/scripts/requirements.txt
Compile a test case to verify the setup:
cd simulationCases
make test_name.tst
Usage
Compiling Simulation Files
Basic compilation:
qcc -autolink file.c -o executable -lmCompilation with custom headers:
qcc -I$PWD/src-local -autolink file.c -o executable -lmRunning Simulations
Run a compiled executable:
./executableExecute a specific test case:
cd simulationCases && make test_name.tstPost-Processing
The postProcess/ directory contains
tools for post-processing simulation results:
- Visualization Generation: Automated
generation of two-panel plots showing:
- Dye concentration with coolwarm colormap
- Velocity magnitude with viridis colormap
- Streamlines to visualize flow patterns
- Data Extraction: Utility to extract numerical data from simulation output files
- Parallel Processing: Multi-core processing of simulation timesteps for efficient visualization
- LaTeX Integration: Formatted plots with mathematical notation using LaTeX
Code Style Guidelines
- Indentation: 2 spaces (no tabs)
- Line length: 80 characters maximum
- Documentation: Use markdown in
comments starting with
/**. Do not use*in comments. - Spacing: Space after commas, spaces around operators (+, -)
- Files: Core functionality in
.hheaders, tests in.cfiles - Naming: Snake_case for variables, camelCase for functions
- Error handling: Return values with stderr messages
Example
Here’s the actual lid-driven cavity flow with dye injection implementation:
#include "navier-stokes/centered.h"
#include "dye-injection.h"

// Constants
#define LEVEL   8       // Grid refinement level
#define MAXDT   (1e-4)  // Maximum timestep

// Global variables
int imax = 1e5;                   // Maximum iterations
double tmax = 1.0;                // Maximum simulation time
double tsnap = 0.01;              // Time interval between snapshots
double end = 2.0;                 // End time for simulation

// Scalar field for convergence check
scalar un[];  // Previous x-velocity
const face vector muv[] = {1.0, 1.0};      // Face-centered viscosity field

/**
## Boundary Conditions
*/
// Top moving wall (lid)
u.t[top] = dirichlet(1);
// Other no-slip boundaries
u.t[bottom] = dirichlet(0);
u.t[left]   = dirichlet(0);
u.t[right]  = dirichlet(0);

/**
## Initialization
*/
event init (t = 0) {
  // Set constant viscosity for Newtonian fluid
  mu = muv;

  // Initialize velocity field
  foreach() {
    u.x[] = 0;
    u.y[] = 0;
    un[] = 0;
  }

  dump (file = "start");
}

/**
## Snapshot Generation
Save snapshots at regular intervals for flow visualization
*/
event writingFiles (t=0.; t += tsnap; t < tmax+tsnap) {
  char filename[100];
  sprintf(filename, "intermediate/snapshot-%5.4f", t);
  dump(file=filename);
}

int main() {
  // Initialize grid and parameters
  init_grid(1<<LEVEL);
  L0 = 1.0;
  origin(-0.5, -0.5);
  DT = MAXDT;
  TOLERANCE = 1e-5;
  CFL = 0.25;

  // Store current velocity for convergence check
  foreach() {
    un[] = u.x[];
  }

  // dye injection parameters
  tInjection = 0.05;        // Inject the dye after flow is established
  xInjection = 0.00;        // X position (center of cavity)
  yInjection = 0.40;        // Y position (upper center of cavity)

  // Create a folder for simulation snapshots
  char comm[80];
  sprintf (comm, "mkdir -p intermediate");
  system(comm);

  // Run simulation
  run();
}
Contributing
- Fork the repository
- Create your feature branch
(
git checkout -b feature/amazing-feature) - Commit your changes
(
git commit -m 'Add some amazing feature') - Push to the branch
(
git push origin feature/amazing-feature) - Open a Pull Request
Reporting Issues and Feature Requests
We use GitHub Issues to track bugs, feature requests, and example requests for this repository. When creating an issue, please select the appropriate template to help us address your needs efficiently.
Issue Templates
Bug Report:
- For problems with installation, compilation, or running code. Please include:
- Detailed description of the issue
- Your environment (OS, compiler version)
- Steps to reproduce
- Expected vs. actual behavior
- Error messages and logs
- Code snippets or files that demonstrate the issue
Feature/Topic Request:
Report here - For requesting specific topics or functionality - New examples or tutorials - Additional functionality in the codebase - Improvements to existing materials
Question/Discussion:
Report here - For any other questions or discussions
How to Create an Issue
- Go to the “Issues” tab in the GitHub repository
- Click the “New Issue” button
- Select the appropriate template from the options
- Fill in the required information according to the template
- Add relevant labels if available
- Submit the issue
License
This project is licensed under the GNU General Public License v3.0 - see the LICENSE file for details.
Acknowledgments
- S. Popinet & collaborators, Basilisk C, http://basilisk.fr (Last accessed: June 2025) (2013-2025)
Generated Documentation
Root Directory
postProcess
- postProcess/LidDrivenCavity-Newtonian-dyeInjection.ipynb
- postProcess/LidDrivenCavity-Newtonian-dyeInjection.py
- postProcess/Visulization3D.ipynb
- postProcess/getData-LidDriven.c
- postProcess/getFacets3D.c